Pages

Thursday, June 30, 2011

Extended site user login issue


This is an issue that I faced when creating a new extended site from the extended site Hub. After the store was created, I registered as a customer on the site. But, I couldn’t login to the site with error saying “user does not have the authority to perform the action”.
Finally after much research I found that the registered user does not have an entry in the MBRROLE table with role id -29 (registered user) for the Org Entity (foreign key to ORGENTITY table. It’s basically the site). Also, apparently the organisation structure was modified as per the requirements of the organisation. I had to do the following entries in order to enable users registering on the site to login.
Open MemberRegistrationAttributes.xml and under <UserRoles> add a new entry for user registration type for the new store




This will still not allow already registered users to login. For that I had to make an entry in the MBRROLE table with ROLE_ID=-29 for the site.

Wednesday, June 29, 2011

The value of the parameter URL is not correct


When integrating IBM websphere commerce with external third party systems like paypal, payment express, etc., there can be situations when an error “The value of the parameter URL is not correct” occurs. This error occurs for a redirectView – probably a return URL passed back from PayPal for example.

This may be the cause of enabling URL redirect filtering. This is configured in the instance xml (or wc-server.xml in Developer toolkit). Locate the <Module> tag for the store web module


To prevent the error, either turn off the URLRedirectFilter (not recommended on prod as this is in place to prevent phishing attack or enter the <AllowedHost> entries.

More information on the links below


Thursday, June 9, 2011

Activating Dialog Activity


For activating a dialog activity which involves email actions, an inbound and outbound email account has to be setup. This account can be setup by following the steps detailed below.

1. Login in to the IBM WCS Administration Console
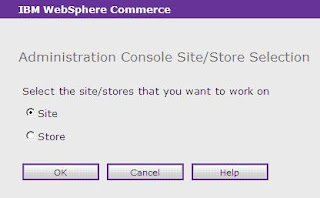
2. Select “Store” in the selection menu


3. Select “Configuration” --> “Email Activities”

 4. Configure the Inbound and Outbound Email Account parameters. Each activity can have a separate email account. Enter the following parameters

Name – Name of the email activity account
Description – Short description
Host - This is the SMTP Host. E.g. SMTP.xyz.internal
Email Address – This is the email address of the sender in case of outbound and receiver in case of inbound
Account – IBM WCS User Id - wcsadmin
Port – This is the SMTP port. By default it is 25.

Commerce host – This is almost always localhost or the ip address of the local machine on which commerce is installed


Tuesday, June 7, 2011

Creating a Wish List Email Dialog Activity


I am assuming here that an Email Template has already been created.

1. Login to management centre and select “Marketing” option

2. Select the store to work with


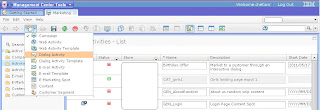
3. Select “New dialog activity” option

  
4. Select the “Blank Dialog Activity” template and click “OK”

  
5. In the new dialog activity screen, Fill in the required information like the name of the activity, description etc., and then select and drag the “Wait for Event” from the “Triggers” column and place it in the activity flow.

  
6. Configure the event for a wish list as detailed out below
The activity configuration has the following parameters.

  1. Event Name – The event name would be the command name that is executed when customer adds an item to the wish list. In this case, it is “AjaxInterestItemAdd”
  1. Number of Event Parameter – This will define the number of condition parameters on which the event will trigger. For example if you want the event to trigger for a  particular item added to wish list then specify the parameter name and value as described in the next two steps.
  1. Parameter name – This is a condition parameter name. If a wish list email has to trigger based on an item then specify the parameter as “catEntryId”. If left blank, then it applies to all.
  1. Parameter value – This is the value of the parameter name specified in the previous step. In this case, it can be a particular item id.
  1. Times – This defines the number of times the event must have occurred for a given customer for the activity to start / continue.
  1. Time frame – This defines the time frame within which the event has occurred. 
  2. Days (only applicable when you select certain options in the previous step) – specifies the number of days within which the event has occurred.


7. Associate the Action when the trigger fires. In this case, it is the Send Email Action. Associate an email template to the activity.


In my next post, I will show how to activate a Dialog Activity